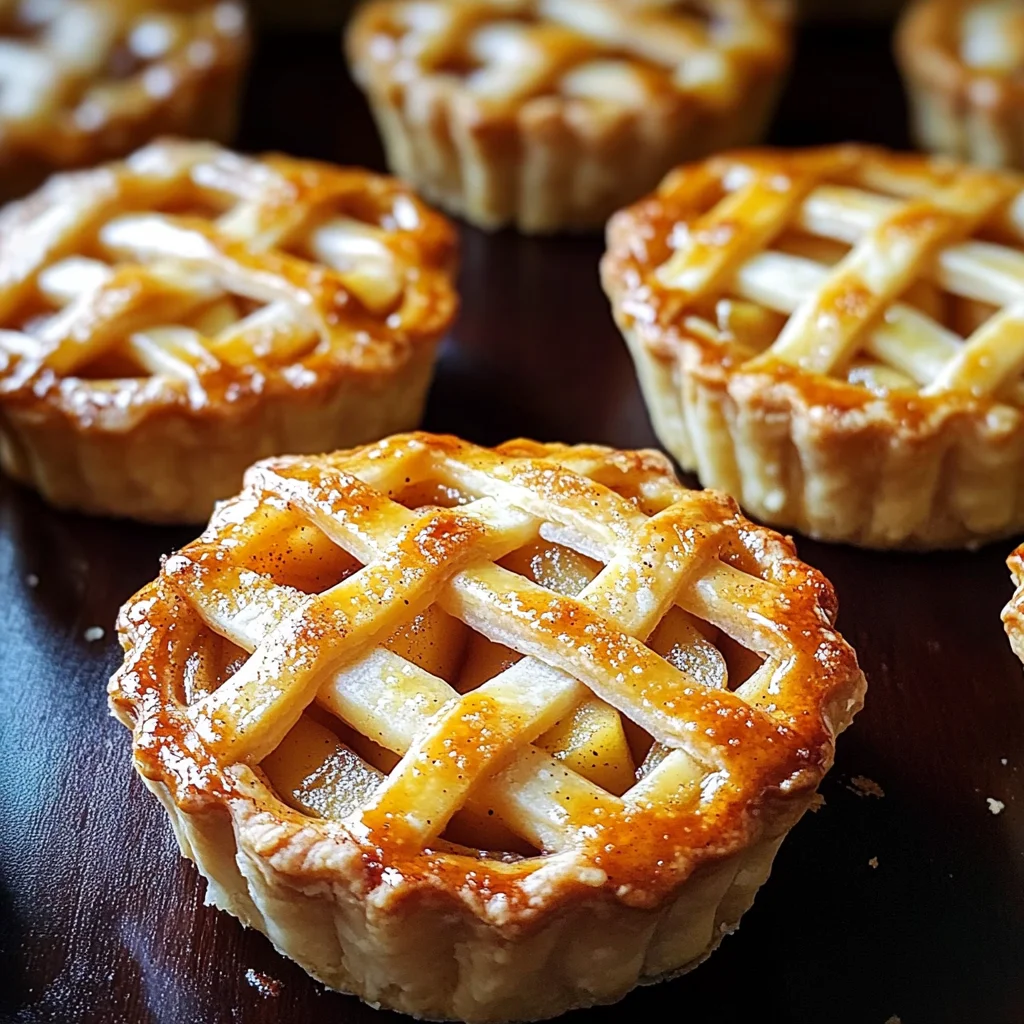
These adorable Mini Apple Hand Pies are packed with spiced apple filling and wrapped in a buttery crust. Shaped like little apples and finished with a golden lattice top, they’re the perfect treat for fall gatherings, lunchboxes, or cozy weekend baking. Their delightful appearance and comforting flavors make them a must-try dessert this season.
Why You’ll Love This Recipe
- Perfect for Any Occasion: These mini pies are great for parties, picnics, or simply enjoying at home.
- Delicious Flavor: The combination of sweet apples and warm spices creates a flavor explosion in every bite.
- Fun to Make: Rolling out the dough and assembling these hand pies is a fun activity for both kids and adults.
- Customizable Filling: Feel free to mix in your favorite fruits or spices to create your own signature version.
- Make Ahead Option: These hand pies can be prepared in advance and frozen until you’re ready to bake them.
Tools and Preparation
Before diving into making these delightful Mini Apple Hand Pies, gather your tools. Having everything ready will help streamline the process.
Essential Tools and Equipment
- Mixing bowls
- Saucepan
- Rolling pin
- Apple-shaped cookie cutter
- Baking tray
- Parchment paper
Importance of Each Tool
- Mixing bowls: Essential for combining your ingredients without mess.
- Saucepan: Helps in cooking the apple filling evenly while enhancing the flavors.
- Rolling pin: Makes it easy to roll out the dough to an even thickness for perfect crusts.
Ingredients
For the crust:
- 2 cups all-purpose flour
- ¼ cup icing sugar
- ½ cup cold unsalted butter, cubed
- 2 teaspoons cold milk
- 1 large egg
For the filling:
- 2 apples, peeled and chopped into small cubes
- 2 tablespoons freshly squeezed lemon juice
- 2 tablespoons sugar
- 2 tablespoons unsalted butter
- 1 teaspoon ground cinnamon
How to Make Mini Apple Hand Pies
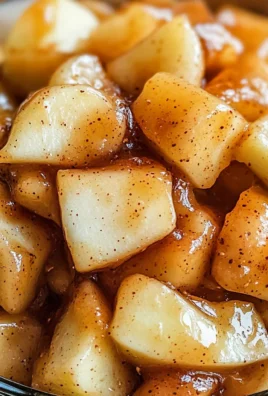
Step 1: Prepare the Filling
- In a small bowl, toss the chopped apples with lemon juice.
- In a saucepan over medium heat, melt the butter.
- Add the apples to the pan and cook for 5 minutes.
- Stir in sugar and cinnamon, then continue cooking for another 5–7 minutes until the apples are tender.
- Remove from heat and let the mixture cool completely.
Step 2: Make the Crust
- In a large bowl, sift together the flour and icing sugar.
- Add the cold butter and rub it into the flour using your fingertips until it resembles coarse breadcrumbs.
- Add the egg and milk, mixing gently until a soft dough forms.
- Shape the dough into a disc, wrap it in plastic wrap, and refrigerate for 30 minutes.
Step 3: Assemble the Hand Pies
- Preheat your oven to 375°F (190°C) and line a baking tray with parchment paper.
- Let the dough sit at room temperature for 5 minutes before rolling it out on a lightly floured surface to about ¼-inch thickness.
- Use an apple-shaped cookie cutter to cut out 8 pastry bases.
- Place 2 tablespoons of cooled apple filling onto each pastry base.
- Brush the edges with beaten egg yolk.
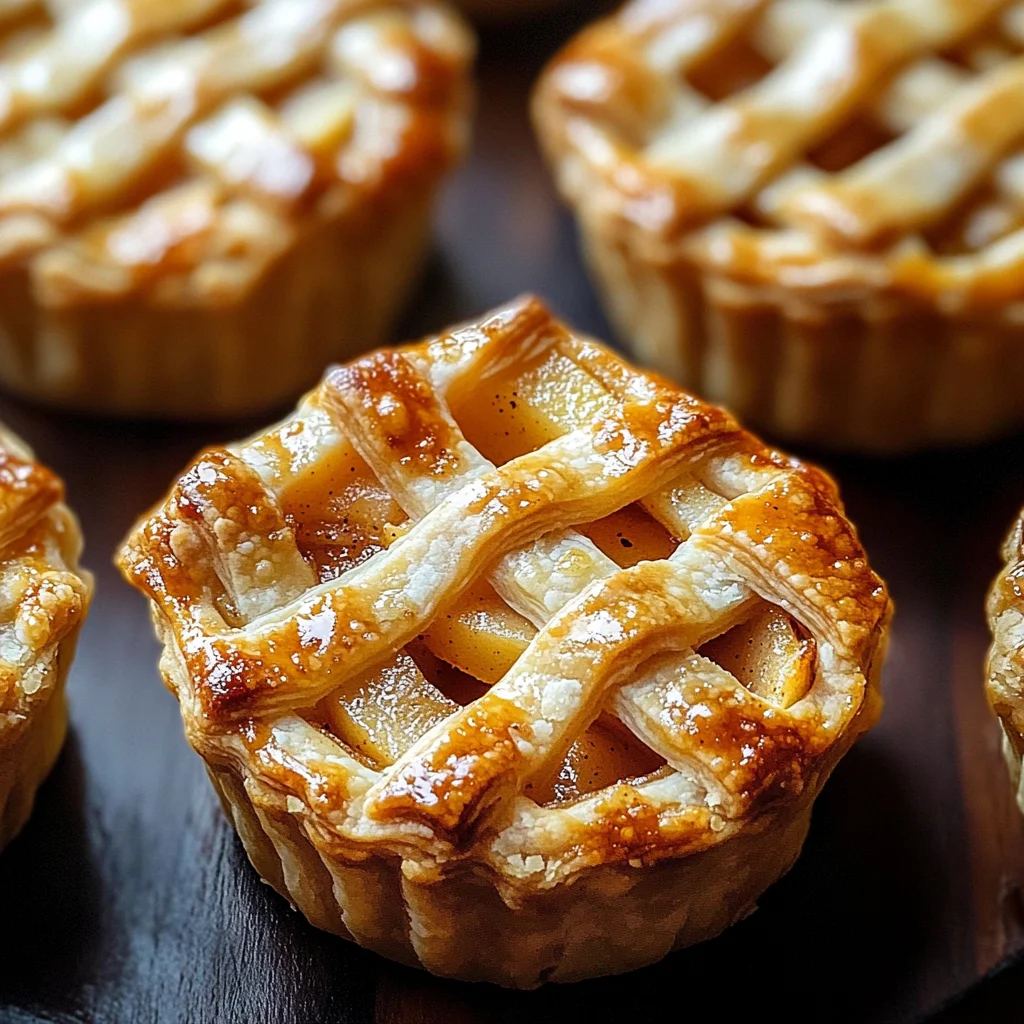
- Roll out leftover dough scraps to cut thin strips for forming a lattice on top of each pie.
- Lay strips over filling in a crisscross pattern, gently pressing to seal edges.
- Freeze assembled pies for 15 minutes to help them hold their shape.
Step 4: Bake
- Brush tops of pies with egg wash before placing them in the oven.
- Bake for 20–25 minutes, or until crust is golden brown and cooked through.
- Allow to cool slightly before serving.
Enjoy these delightful Mini Apple Hand Pies as a comforting snack or dessert!
How to Serve Mini Apple Hand Pies
Mini Apple Hand Pies are delightful on their own, but they can be paired with various accompaniments to enhance your dessert experience. Here are some fun and tasty suggestions for serving these charming treats.
With Ice Cream
- Vanilla Ice Cream: A scoop of creamy vanilla ice cream on the side adds a wonderful contrast to the warm hand pies.
- Cinnamon Ice Cream: For an extra touch, try cinnamon ice cream to complement the spiced apple filling.
With Whipped Cream
- Sweetened Whipped Cream: Light and fluffy whipped cream can elevate the sweetness of the pies.
- Flavored Whipped Cream: Consider adding a hint of vanilla or almond extract for a special twist.
With Caramel Sauce
- Drizzled Caramel: A warm drizzle of caramel sauce over your Mini Apple Hand Pies makes for a decadent experience.
- Salted Caramel: Try using salted caramel for a delightful sweet-salty combination.
With Fresh Fruit
- Sliced Strawberries: Fresh strawberries add a refreshing and fruity contrast.
- Berries Medley: A mix of blueberries, raspberries, and blackberries can brighten up your dessert plate.
How to Perfect Mini Apple Hand Pies
Achieving perfect Mini Apple Hand Pies is all about technique and attention to detail. Here are some tips to ensure your pies come out just right.
- Chill the Dough: Make sure to refrigerate your dough for at least 30 minutes. This helps prevent shrinkage during baking.
- Use Cold Ingredients: Incorporating cold butter and milk into your crust will yield a flakier texture.
- Don’t Overfill: Avoid overfilling with apple mixture to prevent spilling during baking; 2 tablespoons is just right.
- Seal Edges Well: Press the edges firmly to ensure they’re sealed, which keeps the filling inside while baking.
- Brush with Egg Wash: An egg wash gives your Mini Apple Hand Pies a beautiful golden color and shiny finish.
Best Side Dishes for Mini Apple Hand Pies
Serving side dishes alongside Mini Apple Hand Pies can create a delightful meal or snack spread. Here are some great options to consider:
- Cheese Platter: A selection of cheeses such as cheddar, brie, and gouda can provide savory contrast.
- Autumn Salad: A fresh salad with mixed greens, walnuts, cranberries, and feta cheese pairs beautifully.
- Pumpkin Soup: Warm pumpkin soup offers comforting flavors that complement apple in an unexpected way.
- Roasted Vegetables: Seasonal roasted veggies like carrots and Brussels sprouts add heartiness to your meal.
- Hot Chocolate: Enjoying these pies with a cup of rich hot chocolate creates a cozy dessert experience.
- Herbal Tea: A soothing cup of herbal tea can balance the sweetness of the hand pies perfectly.
Common Mistakes to Avoid
Making Mini Apple Hand Pies can be delightful, but there are some common pitfalls to watch for.
- crust preparation: Overworking the dough can make it tough. Mix until just combined for a flaky texture.
- filling temperature: Adding hot filling to the cold dough can lead to soggy pies. Ensure your filling is completely cool before assembly.
- egg wash usage: Skipping the egg wash means missing out on that beautiful golden color. Always brush the tops before baking for a shiny finish.
- portion control: Overfilling the pies can cause them to burst in the oven. Stick to 2 tablespoons of filling per pie to keep them intact.
- cooling time: Cutting into the pies before they cool can make them messy. Allow them to cool for at least 10 minutes after baking.
Storage & Reheating Instructions
Refrigerator Storage
- Store leftover Mini Apple Hand Pies in an airtight container.
- They will last in the refrigerator for up to 3 days.
Freezing Mini Apple Hand Pies
- Wrap each pie in plastic wrap and then place them in a freezer-safe bag.
- They can be frozen for up to 3 months.
Reheating Mini Apple Hand Pies
- Oven: Preheat your oven to 350°F (175°C) and bake for about 10-15 minutes until warmed through.
- Microwave: Heat individually on medium power for about 30-45 seconds, but note this may soften the crust.
- Stovetop: Place in a skillet over low heat, cover, and warm for about 5 minutes, flipping halfway through.
Frequently Asked Questions
Here are some frequently asked questions about making Mini Apple Hand Pies.
Can I use different fruits for Mini Apple Hand Pies?
Yes! You can substitute apples with pears, berries, or peaches for a unique twist on this recipe.
How do I get my Mini Apple Hand Pies extra crispy?
For crispy hand pies, make sure your dough is cold when baking and consider adding a sprinkle of sugar on top before baking.
What is the best way to serve Mini Apple Hand Pies?
These hand pies are fantastic served warm with a scoop of vanilla ice cream or whipped cream on top.
Can I prepare Mini Apple Hand Pies ahead of time?
Absolutely! You can assemble them and freeze before baking. Just add extra time when baking from frozen.
Are Mini Apple Hand Pies suitable for special diets?
You can modify this recipe using gluten-free flour or dairy-free butter alternatives to suit dietary needs.
Final Thoughts
Mini Apple Hand Pies are not only delicious but also versatile treats that fit perfectly into any occasion. Whether you enjoy them as a cozy dessert or a delightful snack, these hand pies can be customized with different fruits or spices. Try this recipe today, and let your creativity shine!
Mini Apple Hand Pies

Mini Apple Hand Pies are the perfect autumn treat, combining warm spiced apple filling with a buttery, flaky crust. These adorable pastries are shaped like little apples and feature a charming lattice top that makes them not only delicious but visually appealing. Ideal for fall gatherings, lunchboxes, or cozy weekend baking, these mini pies deliver comforting flavors in every bite.
- Prep Time: 45 minutes
- Cook Time: 25 minutes
- Total Time: 1 hour 10 minutes
- Yield: Makes about 8 mini hand pies 1x
- Category: Dessert
- Method: Baking
- Cuisine: American
Ingredients
- 2 cups all-purpose flour
- ¼ cup icing sugar
- ½ cup cold unsalted butter, cubed
- 1 large egg
- 2 tablespoons cold milk
- 2 apples, peeled and chopped
- 2 tablespoons lemon juice
- 2 tablespoons sugar
- 1 teaspoon ground cinnamon
Instructions
- Prepare the filling by tossing chopped apples with lemon juice. Melt butter in a saucepan, add apples, cook for 5 minutes, then stir in sugar and cinnamon until tender. Cool completely.
- For the crust, combine flour and icing sugar in a bowl. Add cold butter and rub until crumbly. Mix in egg and milk to form a dough. Chill for 30 minutes.
- Preheat oven to 375°F (190°C). Roll out dough to ¼-inch thickness. Cut out pastry bases with an apple-shaped cookie cutter.
- Place apple filling on each base, seal edges, and create a lattice top with additional dough strips.
- Bake for 20–25 minutes until golden brown.
Nutrition
- Serving Size: 1 serving
- Calories: 170
- Sugar: 10g
- Sodium: 85mg
- Fat: 8g
- Saturated Fat: 5g
- Unsaturated Fat: 3g
- Trans Fat: 0g
- Carbohydrates: 24g
- Fiber: 1g
- Protein: 2g
- Cholesterol: 30mg


Leave a Comment