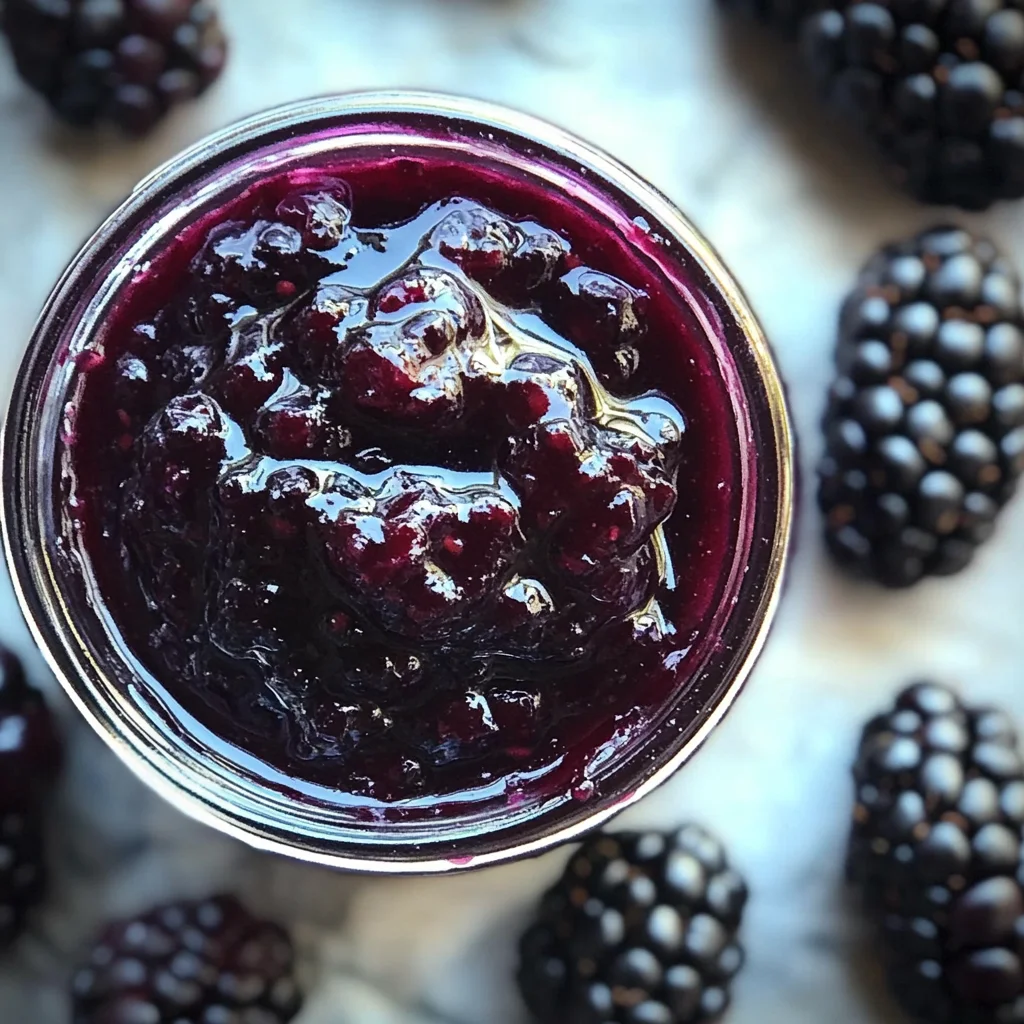
This Blackberry Jam Recipe Without Pectin is a delightful way to capture the essence of summer in a jar. With just a few simple ingredients, you can create a sweet and tangy spread that is perfect for breakfast, snacks, or desserts. This recipe is not only easy to follow but also offers a unique flavor profile that highlights the natural sweetness of blackberries without the need for added pectin. Whether you’re using it on toast, stirring it into yogurt, or gifting it to a friend, this jam will surely impress!
Why You’ll Love This Recipe
- Simple Ingredients: Only requires blackberries, sugar, and optional lemon juice.
- Low Sugar Option: Customize sweetness according to your taste preferences.
- No Pectin Needed: Achieve the perfect gel consistency naturally.
- Versatile Use: Great for spreading on toast, topping desserts, or even as a filling for pastries.
- Homemade Goodness: Enjoy the satisfaction of making your own delicious jam.
Tools and Preparation
To make this blackberry jam recipe without pectin, you’ll need some essential tools to ensure a smooth cooking process.
Essential Tools and Equipment
- A large saucepan
- Measuring cups
- Measuring spoons
- Canning jars with lids
- A ladle
Importance of Each Tool
- Large saucepan: Provides ample space for simmering the jam while allowing room for foaming.
- Canning jars with lids: Essential for proper storage and preservation of your homemade jam.
Ingredients
Here are the ingredients you’ll need for this simple blackberry jam:
For the Jam
- 5 cups blackberries
- 1 to 2 cups sugar (see note)
- 1 to 2 tbsp lemon juice (optional)
How to Make Blackberry Jam Recipe Without Pectin
Step 1: Combine Ingredients
- Add blackberries, sugar, and lemon juice (if using) to a large saucepan. Ensure there are several inches of headspace to allow for foaming during cooking.
Step 2: Simmer the Mixture
- Turn the heat to medium-low.
- Simmer the mixture until it reaches gel stage, stirring occasionally to keep bubbles down. This typically takes about 20-30 minutes for low sugar jam.
Step 3: Test Gel Stage
- To check if it’s ready, place a small amount of the jam on a plate and freeze it briefly.
- Once cooled, run your finger through it; if it holds its shape, it’s ready for canning.
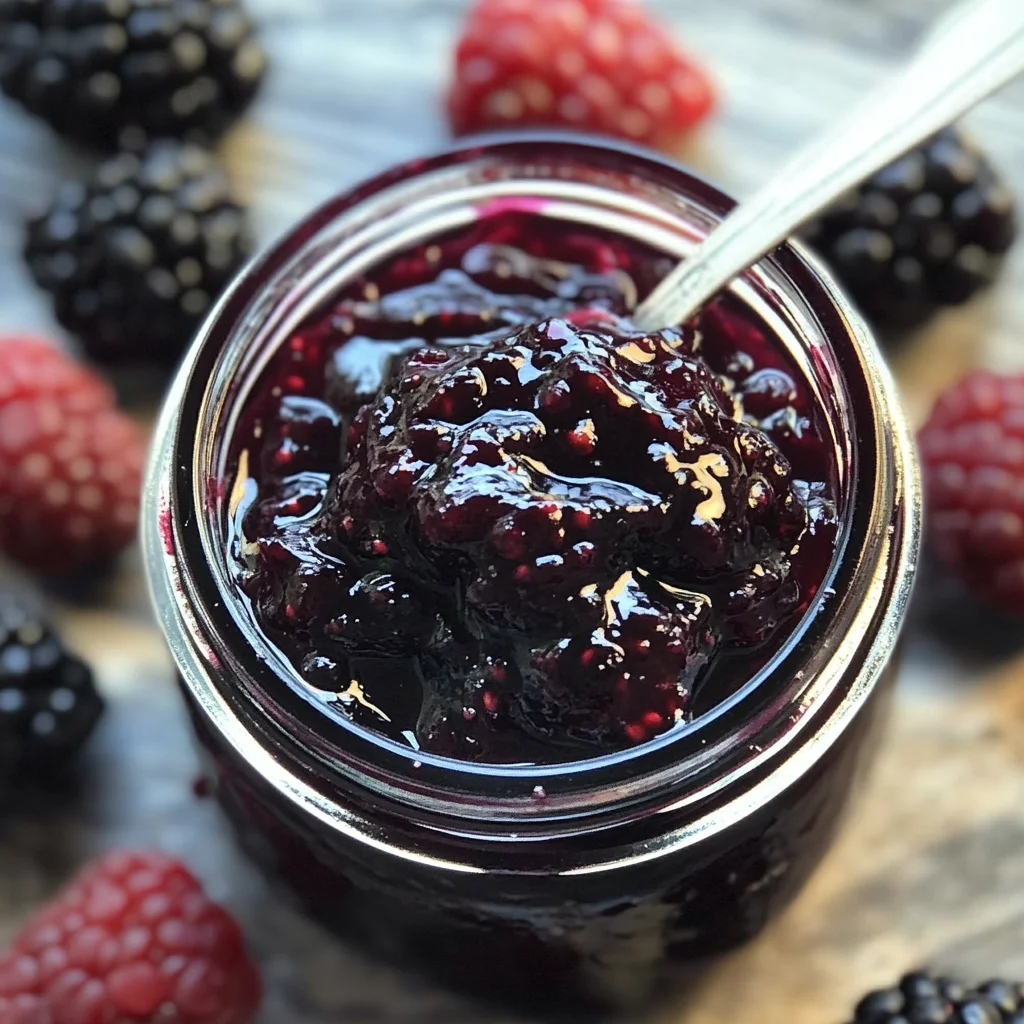
Step 4: Jar and Store
- Pour the jam into prepared canning jars, leaving about 1/4 inch headspace at the top.
- Store in the refrigerator or process in a water bath canner for 10 minutes to preserve longer.
Enjoy your delicious homemade blackberry jam!
How to Serve Blackberry Jam Recipe Without Pectin
Blackberry jam is a versatile treat that can elevate many dishes. Whether you’re spreading it on toast or using it in desserts, this delightful jam adds a burst of flavor to your meals.
On Toast or Bread
- Warm Toast: Spread the jam on freshly toasted bread for a simple yet satisfying breakfast.
- Croissants: Enjoy blackberry jam layered inside flaky croissants for a gourmet touch.
With Cheese
- Cheese Board: Serve blackberry jam alongside soft cheeses like brie or goat cheese for a delicious contrast.
- Grilled Cheese: Add a dollop of jam to your grilled cheese sandwich for an unexpected twist.
In Desserts
- Ice Cream Topping: Drizzle blackberry jam over vanilla ice cream for a fruity dessert.
- Yogurt Parfait: Layer the jam with yogurt and granola for a flavorful parfait.
As a Glaze
- Roasted Chicken: Brush blackberry jam on roasted chicken during the last few minutes of cooking for added sweetness.
- Grilled Vegetables: Toss vegetables with blackberry jam before grilling for caramelization and flavor.
How to Perfect Blackberry Jam Recipe Without Pectin
To achieve the best results with your blackberry jam, follow these helpful tips.
- Choose ripe blackberries: Use fully ripe blackberries for the sweetest flavor and better gelling.
- Adjust sugar levels: Start with 1 cup of sugar and adjust according to your taste preferences; more sugar helps with gelling.
- Use fresh lemon juice: Adding lemon juice not only enhances flavor but also helps balance sweetness.
- Monitor cooking time: Keep an eye on the cooking time; it should take 20-30 minutes to reach gel stage.
- Test gel stage properly: Use the freezer method to test if your jam has reached the right consistency before canning.
Best Side Dishes for Blackberry Jam Recipe Without Pectin
Blackberry jam pairs well with many side dishes, enhancing their flavors. Here are some excellent options to consider.
- Creamy Mashed Potatoes – The richness of mashed potatoes complements the sweet-tart notes of blackberry jam beautifully.
- Savory Biscuits – Flaky biscuits are perfect for slathering with blackberry jam, making them an ideal breakfast side.
- Coleslaw – A tangy coleslaw balances the sweetness of the jam, adding crunch and freshness to your meal.
- Roasted Carrots – Sweet roasted carrots pair well with the vibrant flavors of blackberry jam, creating a colorful plate.
- Mixed Green Salad – Toss mixed greens with vinaigrette and spoon some blackberry jam over for a fruity salad dressing.
- French Toast Casserole – Serve slices of this casserole drizzled with warm blackberry jam for an indulgent brunch dish.
Common Mistakes to Avoid
Making blackberry jam can be easy, but there are common pitfalls to watch out for. Here are some mistakes to avoid:
- Not using enough sugar: Sugar helps preserve the jam and assists in achieving the right texture. Ensure you use the recommended amount for best results.
- Skipping the gel stage test: To know when your jam is ready, always perform a gel stage test. This prevents runny jam. Use a plate in the freezer to check consistency.
- Overcrowding the pan: If you add too many blackberries at once, it can lead to uneven cooking. Always allow enough space for bubbling and stirring.
- Ignoring headspace in jars: Leaving inadequate headspace can cause jar breakage during processing. Maintain at least a 1/4 inch of space for safety.
- Not sterilizing jars properly: Using unsterilized jars can lead to spoilage. Always ensure your jars are clean and heated before filling.
Storage & Reheating Instructions
Refrigerator Storage
- How long: Store in the refrigerator for up to 3 weeks.
- Containers: Use clean, airtight glass jars or containers.
Freezing Blackberry Jam Recipe Without Pectin
- How long: The jam can be frozen for up to 1 year.
- Containers: Use freezer-safe containers or bags, leaving some headspace for expansion.
Reheating Blackberry Jam Recipe Without Pectin
- Oven: Preheat the oven to 350°F (175°C) and warm in an oven-safe dish until heated through.
- Microwave: Heat in short bursts of 15-20 seconds, stirring between each interval until warm.
- Stovetop: Gently reheat on low heat, stirring frequently until warmed through.
Frequently Asked Questions
Here are some common questions about making this delicious blackberry jam.
How To Make Blackberry Jam Easy?
Making blackberry jam is simple! Combine blackberries, sugar, and lemon juice in a saucepan, simmer until it reaches gel stage, and then pour into jars.
Can I use less sugar in my Blackberry Jam Recipe Without Pectin?
Yes, you can reduce sugar, but keep in mind that less sugar may affect preservation and texture. Adjust according to your taste preferences.
What if my Blackberry Jam doesn’t set?
If your jam doesn’t set properly, it might need more cooking time. Simmer longer and test again for gel stage.
How To Make Blackberry Jam Without Pectin?
To make blackberry jam without pectin, use just blackberries and sugar. Simmer until it reaches gel stage for a delicious result without added pectin.
Final Thoughts
This Blackberry Jam Recipe Without Pectin is a simple yet rewarding way to enjoy homemade preserves. With minimal ingredients and easy steps, you can create a delightful spread perfect for toast or desserts. Feel free to customize by adding spices or mixing with other fruits!
Blackberry Jam Recipe Without Pectin
Capture the essence of summer with this delightful Blackberry Jam Recipe Without Pectin. This easy-to-follow recipe combines juicy blackberries and sugar to create a sweet, tangy spread that’s perfect for breakfast, snacks, or desserts. By skipping added pectin, you allow the natural sweetness of the blackberries to shine through, resulting in a rich flavor profile that’s sure to impress. Enjoy it slathered on toast, drizzled over yogurt, or even as a thoughtful homemade gift. With minimal ingredients and straightforward steps, making your own blackberry jam has never been easier.
- Prep Time: 10 minutes
- Cook Time: 30 minutes
- Total Time: 40 minutes
- Yield: Approximately 30 servings 1x
- Category: Dessert
- Method: Canning
- Cuisine: American
Ingredients
- 5 cups blackberries
- 1 to 2 cups sugar
- 1 to 2 tbsp lemon juice (optional)
Instructions
- Combine blackberries, sugar, and lemon juice (if using) in a large saucepan with several inches of headspace.
- Over medium-low heat, simmer the mixture for about 20-30 minutes until it reaches gel stage, stirring occasionally.
- Test for gel stage by placing a small amount on a plate and freezing briefly; if it holds its shape when run through with your finger, it's ready.
- Pour the jam into sterilized canning jars, leaving about 1/4 inch headspace at the top. Store in the refrigerator or process in a water bath canner for long-term preservation.
Nutrition
- Serving Size: 1 tablespoon (20g)
- Calories: 50
- Sugar: 12g
- Sodium: 0mg
- Fat: 0g
- Saturated Fat: 0g
- Unsaturated Fat: 0g
- Trans Fat: 0g
- Carbohydrates: 13g
- Fiber: 0g
- Protein: <1g
- Cholesterol: 0mg

Leave a Comment