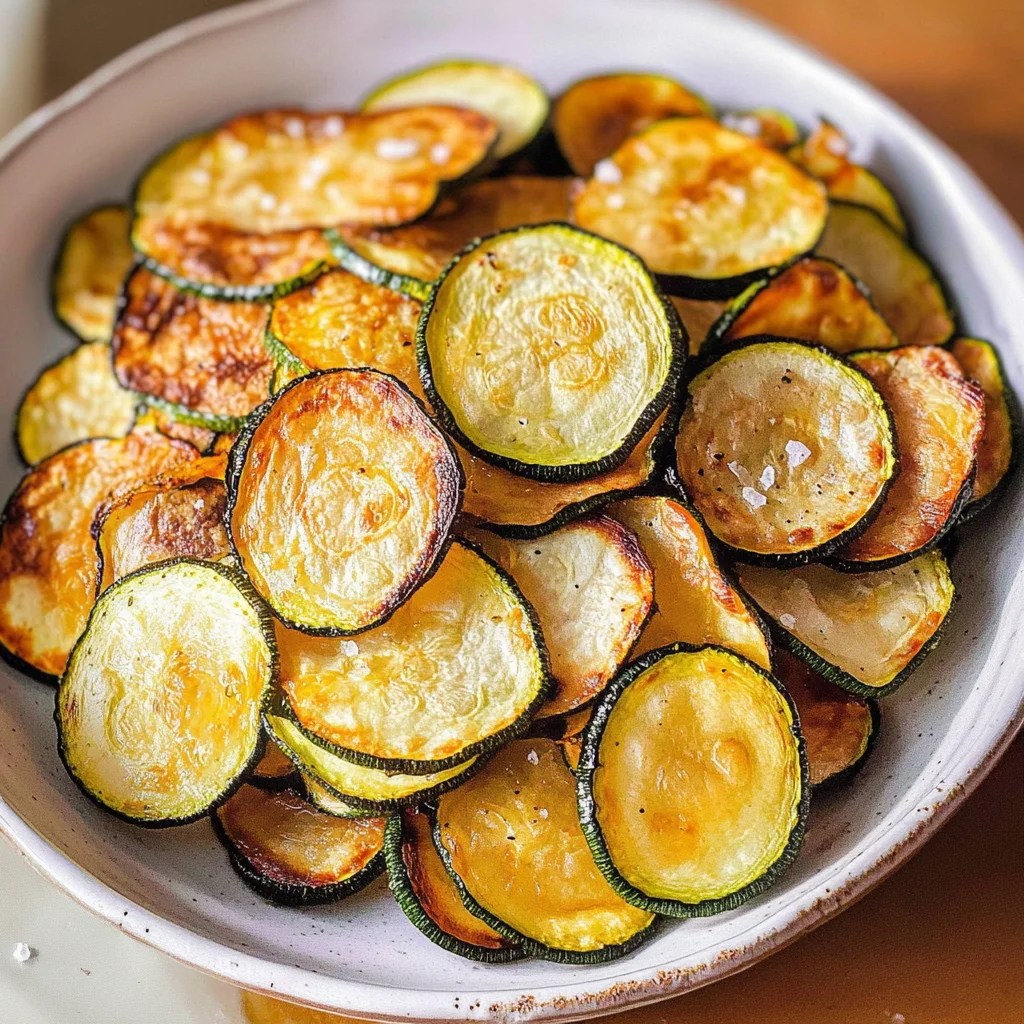
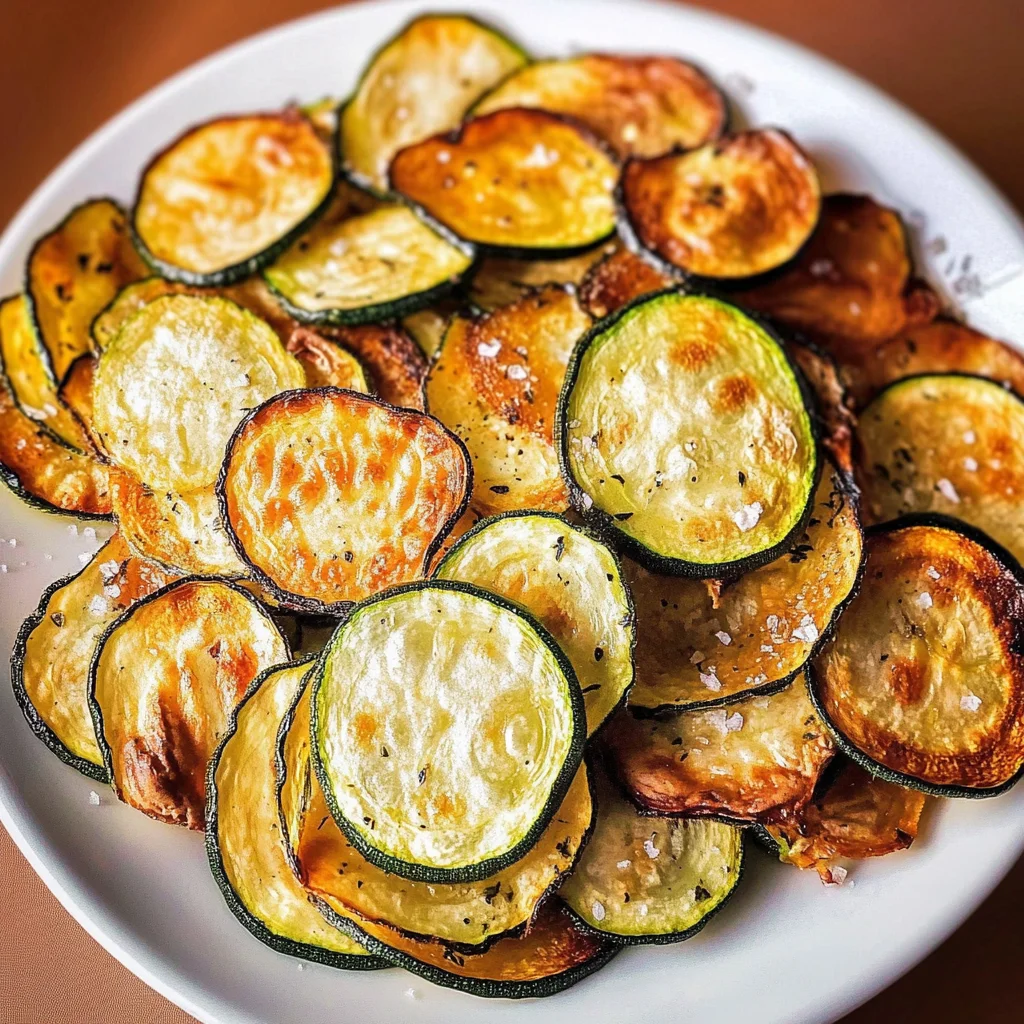
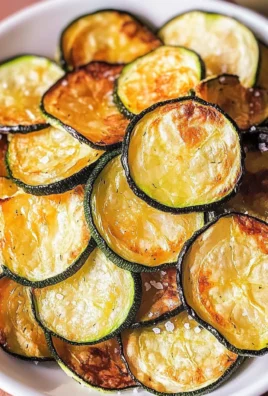
Thin, crispy, and irresistible, Easy Oven-Baked Zucchini Chips are the perfect snack for any occasion. Whether you’re hosting a party, craving a crunchy treat, or looking for a healthy alternative to chips, these zucchini chips will satisfy your taste buds. They are easy to make, packed with flavor, and can be customized with your favorite seasonings. Enjoy them as a snack on their own or pair them with dips for an exciting twist!
Why You’ll Love This Recipe
- Healthy Snack Option: These zucchini chips are low in calories and high in flavor, making them a guilt-free treat.
- Versatile Flavoring: Customize your zucchini chips with various seasonings to match your taste preferences.
- Simple Preparation: With minimal prep time and easy instructions, you’ll have delicious snacks ready in no time.
- Great for Meal Prep: Make a batch ahead of time and store them for a quick snack throughout the week.
- Kid-Friendly: These crunchy delights are sure to be a hit with kids and adults alike!
Tools and Preparation
To make Easy Oven-Baked Zucchini Chips, you’ll need some essential tools that will make the process easier and more efficient.
Essential Tools and Equipment
- Baking sheets
- Parchment paper or silicone baking mats
- Mandolin slicer
- Pastry brush
- Paper towels
Importance of Each Tool
- Mandolin slicer: Ensures uniform slices for even cooking and crispiness.
- Baking sheets: Provides ample space for all your zucchini slices while they bake.
- Parchment paper or silicone baking mats: Prevents sticking and makes cleanup a breeze.
Ingredients
To create these delicious zucchini chips, gather the following ingredients:
For the Zucchini Chips
- 1 large zucchini
- 2 tablespoon olive oil
- Kosher salt
How to Make Easy Oven-Baked Zucchini Chips
Step 1: Preheat the Oven
Preheat your oven to 225 °F (107 °C). Line two large baking sheets with silicone baking mats or parchment paper.
Step 2: Slice the Zucchini
Use a mandolin slicer to slice your zucchini into thin rounds. Aim for consistent thickness for even cooking; I recommend using the second setting on the slicer.
Step 3: Remove Excess Moisture
Place the sliced zucchini on a sheet of paper towels. Cover them with another paper towel and gently press down to absorb excess moisture. This step helps the chips become crispy.
Step 4: Arrange on Baking Sheets
Carefully line up the zucchini slices on the prepared baking sheets without overlapping them. Leave some space between each slice to allow air circulation.
Step 5: Brush with Olive Oil
In a small bowl, pour in your olive oil. Use a pastry brush to evenly coat each zucchini slice with olive oil for added flavor.
Step 6: Seasoning Time!
Sprinkle kosher salt over the zucchini slices. Remember not to over-season; it’s better to start light since the chips will shrink during baking. You can always add more salt later if needed.
Step 7: Bake Until Crispy
Bake in the preheated oven for at least 2 hours until the chips are golden brown and crispy. Keep an eye on them towards the end of baking.
Step 8: Cool Down Before Serving
Once done, let the chips cool completely on the baking sheet before removing them. This will help maintain their crispiness.
Step 9: Storage Tips
Store any leftover zucchini chips in an airtight container at room temperature for up to three days. Enjoy these delightful snacks anytime!
How to Serve Easy Oven-Baked Zucchini Chips
These Easy Oven-Baked Zucchini Chips are not just a snack; they can complement various dishes or serve as delightful appetizers. Here are some serving suggestions to enhance your snacking experience.
As a Healthy Snack Alternative
- Pair with hummus for a creamy, nutritious dip that adds flavor and protein.
- Serve alongside guacamole for a fresh and zesty option that’s perfect for crunching.
With Dips and Spreads
- Enjoy with salsa for a tangy kick that elevates the zucchini chips’ taste.
- Complement with tzatziki sauce for a cool, refreshing taste that balances the crispiness.
In Salads
- Toss in a green salad to add crunch and excitement, making your salad more appealing.
- Use as a topping on a Caesar salad to replace croutons while keeping the dish light.
As an Appetizer
- Arrange on a platter with assorted veggie dips for an impressive starter at gatherings.
- Offer them as bite-sized treats at parties alongside cheese platters for added variety.
How to Perfect Easy Oven-Baked Zucchini Chips
Creating the perfect Easy Oven-Baked Zucchini Chips is simple with just a few tips. These pointers will ensure your chips turn out crispy and delicious every time.
- Slice evenly: Use a mandolin for uniform thickness to ensure even cooking and crispiness.
- Pat dry thoroughly: Removing excess moisture helps achieve that desired crunchiness in every bite.
- Use high-quality olive oil: A good oil enhances flavor and contributes to the crisp texture of the chips.
- Avoid overcrowding the baking sheet: Ensure enough space between slices so they bake evenly without steaming.
- Monitor baking time: Keep an eye on them in the last few minutes to prevent burning and achieve perfect browning.
- Store properly: Let chips cool completely before storing them in an airtight container to maintain their crispness.
Best Side Dishes for Easy Oven-Baked Zucchini Chips
Pairing these zucchini chips with complementary side dishes can create delightful meal experiences. Here are some excellent options:
- Grilled Chicken Salad – A light salad featuring grilled chicken and fresh veggies makes for a balanced meal.
- Quinoa Bowl – This dish combines quinoa, beans, and veggies, providing protein and fiber alongside your zucchini chips.
- Stuffed Bell Peppers – Colorful peppers filled with rice, beans, or turkey offer hearty flavors that pair well with crispy snacks.
- Roasted Vegetable Medley – An assortment of seasonal vegetables roasted to perfection brings out their natural sweetness.
- Creamy Pasta Salad – A chilled pasta salad tossed in dressing complements the crunch of zucchini chips beautifully.
- Baked Sweet Potato Fries – These sweet potato fries provide another crunchy option that’s both delicious and healthy.
Common Mistakes to Avoid
When making Easy Oven-Baked Zucchini Chips, it’s common to encounter a few pitfalls. Here are some mistakes to watch out for:
- Overlapping slices: If you place zucchini slices too close together, they’ll steam rather than crisp up. Always lay them in a single layer with space between each slice.
- Not drying the zucchini: Failing to remove excess moisture can lead to soggy chips. Patting the slices dry with paper towels helps them become crispy.
- Using too much salt: Adding too much salt before baking can make your chips overly salty as they shrink. Start with a light sprinkle and adjust after baking if needed.
- Wrong oven temperature: Baking at an incorrect temperature can result in undercooked or burnt chips. Maintain an oven temperature of 225 °F (107 °C) for optimal crispness.
- Ignoring cooking time: Not keeping an eye on your chips could lead to burning or a chewy texture. Bake until they’re golden brown and crispy, which usually takes around 2 hours.
Storage & Reheating Instructions
Refrigerator Storage
- Store leftover zucchini chips in an airtight container for up to 3 days.
- Ensure the container is completely sealed to maintain freshness.
Freezing Easy Oven-Baked Zucchini Chips
- For longer storage, freeze your chips for up to 2 months.
- Use freezer-safe bags or containers, and remove as much air as possible before sealing.
Reheating Easy Oven-Baked Zucchini Chips
- Oven: Preheat your oven to 350 °F (175 °C) and bake for about 5-10 minutes until warm and crispy again.
- Microwave: Heat on high for short intervals of 15-20 seconds, but this may not retain crispiness.
- Stovetop: Warm in a skillet over low heat for a few minutes, turning frequently until hot and crispy.
Frequently Asked Questions
Here are some common queries regarding Easy Oven-Baked Zucchini Chips:
Can I use other vegetables for baking?
Yes! You can experiment with other vegetables like carrots or sweet potatoes using the same method.
How do I ensure my zucchini chips are crispy?
Be sure to slice them thinly and dry them well before baking. Proper spacing on the baking sheet is also key.
What is the best way to season Easy Oven-Baked Zucchini Chips?
Aside from salt, you can use spices like garlic powder, paprika, or nutritional yeast for added flavor!
How long do these zucchini chips last?
These baked zucchini chips will last up to 3 days in the fridge or up to 2 months in the freezer.
Final Thoughts
Easy Oven-Baked Zucchini Chips are a deliciously healthy snack that everyone will enjoy! Their versatility allows you to customize flavors and serve them as party snacks or healthy munchies. Don’t hesitate to try different seasonings or pair them with your favorite dips!
Easy Oven-Baked Zucchini Chips

Easy Oven-Baked Zucchini Chips are the ultimate healthy snack that delivers a satisfying crunch without the guilt. These thin, crispy treats are not only simple to prepare but can be customized with your favorite seasonings, making them perfect for any occasion. Whether you’re looking for a light snack to enjoy while binge-watching your favorite show or want to impress guests at a gathering, these zucchini chips will surely hit the spot. Pair them with dips like hummus or guacamole for an extra burst of flavor, or toss them into salads for added texture. Enjoy this easy recipe and discover how delicious healthy snacking can be!
- Prep Time: 15 minutes
- Cook Time: 120 minutes
- Total Time: 2 hours 15 minutes
- Yield: Approximately 4 servings 1x
- Category: Snack
- Method: Baking
- Cuisine: Vegetarian
Ingredients
- 1 large zucchini
- 2 tablespoons olive oil
- Kosher salt
Instructions
- Preheat your oven to 225 °F (107 °C) and line two large baking sheets with parchment paper.
- Slice the zucchini into thin rounds using a mandolin slicer for uniformity.
- Pat the zucchini slices dry with paper towels to remove excess moisture.
- Arrange the slices on the prepared baking sheets without overlapping.
- Brush each slice lightly with olive oil and sprinkle with kosher salt.
- Bake in the preheated oven for about 2 hours, or until golden brown and crispy.
- Let cool completely before serving; store any leftovers in an airtight container.
Nutrition
- Serving Size: 1 ounce (28g)
- Calories: 120
- Sugar: 2g
- Sodium: 180mg
- Fat: 7g
- Saturated Fat: 1g
- Unsaturated Fat: 6g
- Trans Fat: 0g
- Carbohydrates: 11g
- Fiber: 3g
- Protein: 2g
- Cholesterol: 0mg
Leave a Comment